I finally made the jump from mysql 4 the other day, to take advantage of mysql’s new “INSERT … ON DUPLICATE UPDATE” command (which I think is spectacular by the way).
I didn’t want to actually upgrade from mysql4 to mysql5, just run the two mysqls side by side … so I looked around for a bit and figured out that all you need to do is get both servers running on different ports. The trick is to remember to reference localhost:port (eg: “localhost:3307”) instead of just “localhost” whenever you connect to it, in php, for example. Below are screenshots of the things you need to watch out for when doing this on a windows machine.
The first part of the install is pretty straight forward, just make sure to install it into a different folder than your current mysql install.
At this screen be sure to tick the “Configure the MySQL Server now” box

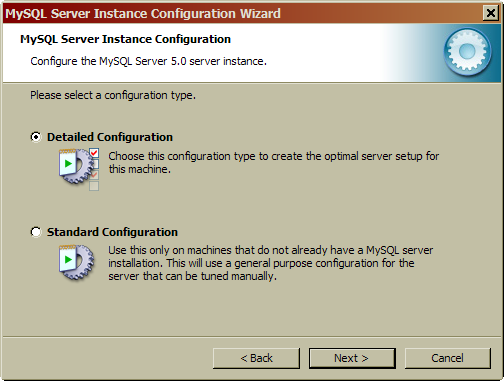
At this screen pick “detailed configuration” and continue on …
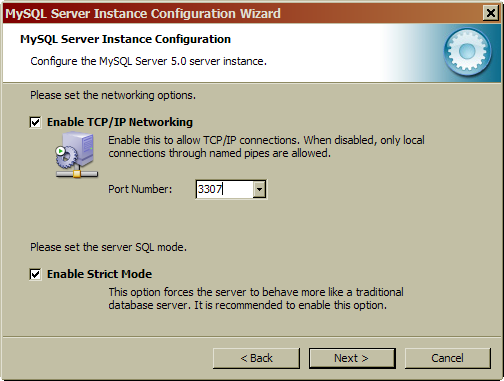
At this screen be sure to change the port number.
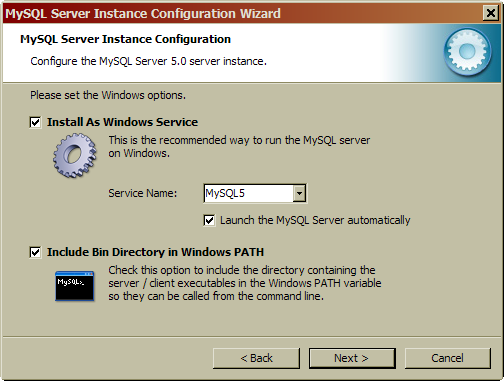
From the dropdown pick a service name that won’t conflict with the name of the service for the current MySQL install.
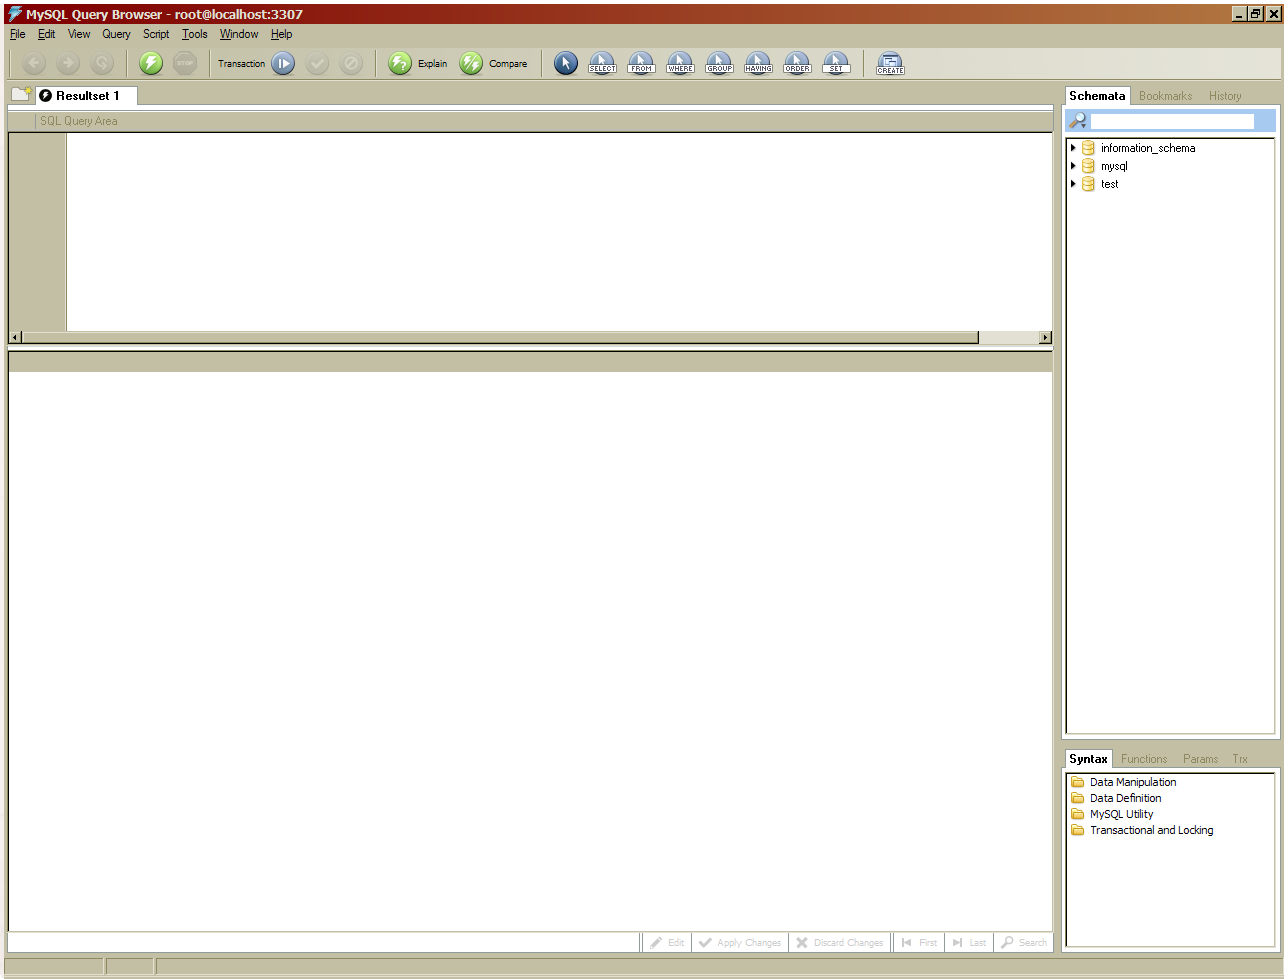
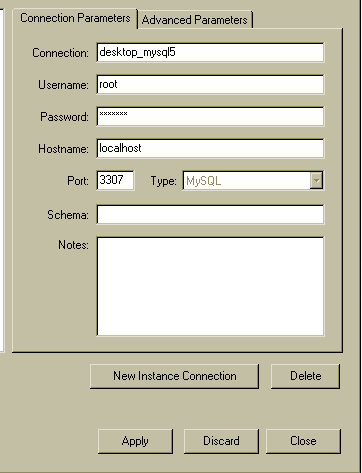
After that is all done, we want to try and connect to our brand new server. So fire up MySQL Administrator or MySQL query browser and create a new connection, like so … (Yes. I know running as root is bad for you … thanks).
Once you’re done … connect to MySql Query browser and you should go to this screen! The nice thing about this is that you can probably even run mysql 4, 4.1 and 5 all together.